


Running out of storage space while enjoying your favorite Steam titles can be frustrating, especially as game sizes continue to grow. Reinstalling entire games or your Steam client each time is inefficient and time-consuming. Fortunately, Steam provides straightforward options to relocate individual games or your entire library to a different drive, saving you time and effort. This guide walks you through the most effective ways to move your Steam games seamlessly, ensuring your gaming experience remains smooth without losing progress or facing complicated procedures.
Important Considerations Before Moving Your Games
- You can transfer single game files or your entire Steam library, depending on your needs.
- Large game files may require some patience during the transfer process.
- Always back up your game data beforehand to prevent data loss if unexpected issues occur during migration.
How to Transfer Individual Steam Games to a Different Drive
Step 1: Access the Storage Management Settings
Begin by opening Steam and navigating to the settings menu. Click on the Steam menu located in the top-left corner of the client window, then select Settings. In the Settings window, choose Downloads from the sidebar. Within this section, click on the Steam Library Folders button to open the Storage Manager. This tool allows you to manage multiple library folders across different drives.
Step 2: Add a New Library Folder on Your Desired Drive
In the Storage Manager, you’ll see your current Steam library location—usually on your C drive. To add a new location, click the plus (+) icon beside your existing folder. A dropdown menu will appear; select the drive where you want to store your games. After choosing the drive, click Select. The new folder will now be listed as part of your Steam library options.
Step 3: Move Selected Games to the New Drive
Once your new library folder is created, you can transfer games in two ways:
- Using the Storage Manager:
- In the Storage Manager, browse through your installed games.
- Check the box next to each game you wish to move.
- Click the Move button.
- Choose the new drive (library folder) from the dropdown menu and confirm by clicking Move.
- Using the Game Library:
- In your main Steam window, go to your Library.
- Right-click on the game you want to transfer, then select Properties….
- Navigate to Local Files in the sidebar.
- Click on Move install folder….
- Select the new drive from the dropdown menu and click Move.
Repeat this process for each game you want to relocate. For large files, expect some transfer time as the data copies over.
Step 4: Wait for the Transfer to Complete
Depending on the size of your game files, the move may take a while. Ensure your PC remains powered on and avoid closing Steam during this process to prevent corruption.
How to Move Your Entire Steam Installation to a New Drive
Step 1: Backup Your Steam Data
Although optional, backing up your steamapps folder is recommended. This safeguards your game files in case something goes wrong. To do this, locate your Steam installation directory, typically at `C:Program Files (x86)Steam`, and copy the steamapps folder to a safe location.
Step 2: Prepare Your Existing Steam Folder for Moving
Close Steam completely before proceeding. Navigate to your current Steam folder and delete all files except for steam.exe, steamapps, and userdata folders. These contain your core application, game data, and user profiles.
Step 3: Transfer the Steam Folder to the New Drive
Cut the entire Steam directory and paste it into your preferred location on the new drive. For example, move it to `D:Steam` or another preferred folder. This process relocates your entire Steam environment.
Step 4: Verify and Repair Game Files After Moving
Open Steam from its new location. Log in with your credentials. Steam will auto-update or verify your files. For each game, right-click, select Properties…, then Local Files, and click Verify integrity of game files…. This step ensures all data transferred correctly and fixes any issues caused during migration.
Step 5: Troubleshoot if Necessary
If problems arise, exit Steam, move your steamapps folder back to the desktop, uninstall Steam, and then reinstall it on the new drive. Afterward, replace the steamapps folder and verify game integrity again. This thorough approach helps resolve persistent errors.
Step 6: Transfer Save Files
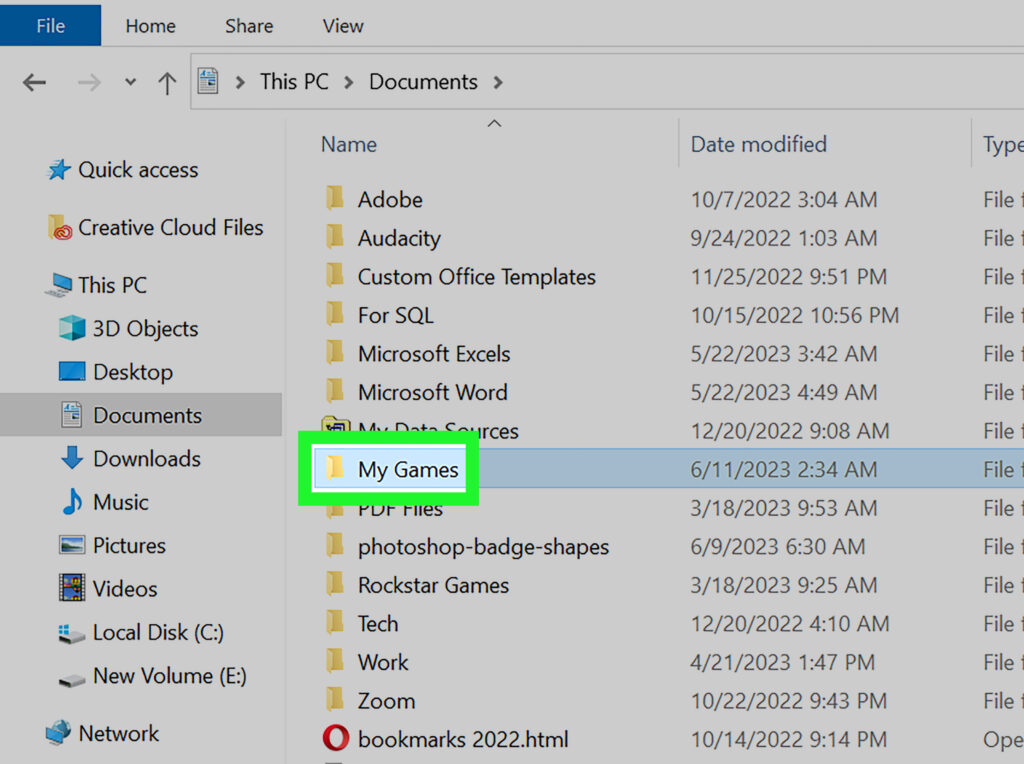
If you have saved game data outside Steam Cloud, locate your save files—commonly found in `DocumentsMy Games`—and move them into the corresponding folders on your new Steam directory. This preserves your progress on the transferred games.
—
For more advanced tips, such as revealing hidden features or optimizing your game setup, consider exploring resources like discovering hidden secrets in game dev tycoon. Additionally, to enhance your gaming experience with mods, learn how to add mods to the non steam version of game dev tycoon, or aim to master the art of achieving a perfect 11/10 rating in game dev tycoon. These insights can help you get the most out of your gaming setup.